Interested in starting a career as a Property Stylist?
Not sure how to turn this passion into a six figure career?
Start Here: Free Video Training Series
Welcome back to the Carrington House Transformation! It’s time to move on to the next space of the Carrington House – Room 2 transformation. If you guys haven’t checked out Room One transformation click here to read all about how we transformed the space!
Needless to say, room two was definitely a tough and emotional challenge for us. Looking at the room previously we could tell there was a lot of distress and trauma that came out of the space.
The room visually was quite distributing and also in a really bad condition. The floor falls away, the skirt coming off the wall, gyprock ensembles over the render, and no render. There were holes through the hallway and electric wiring hanging out everywhere
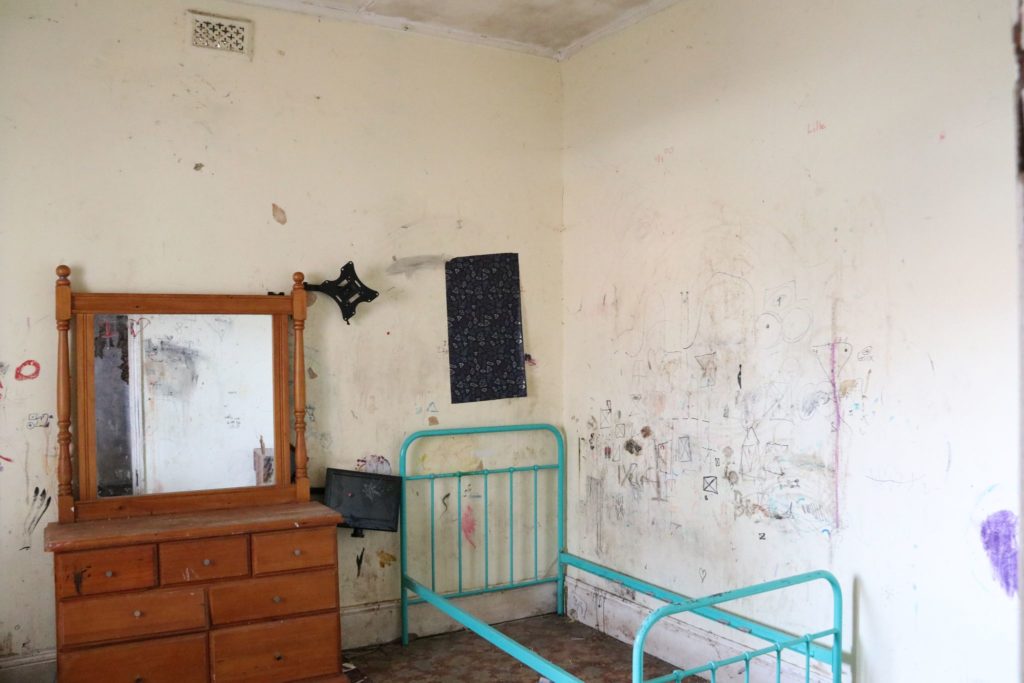
It was quite humbling to look around now to see the changes that we made to space, hoping to give it the justice that it deserved.
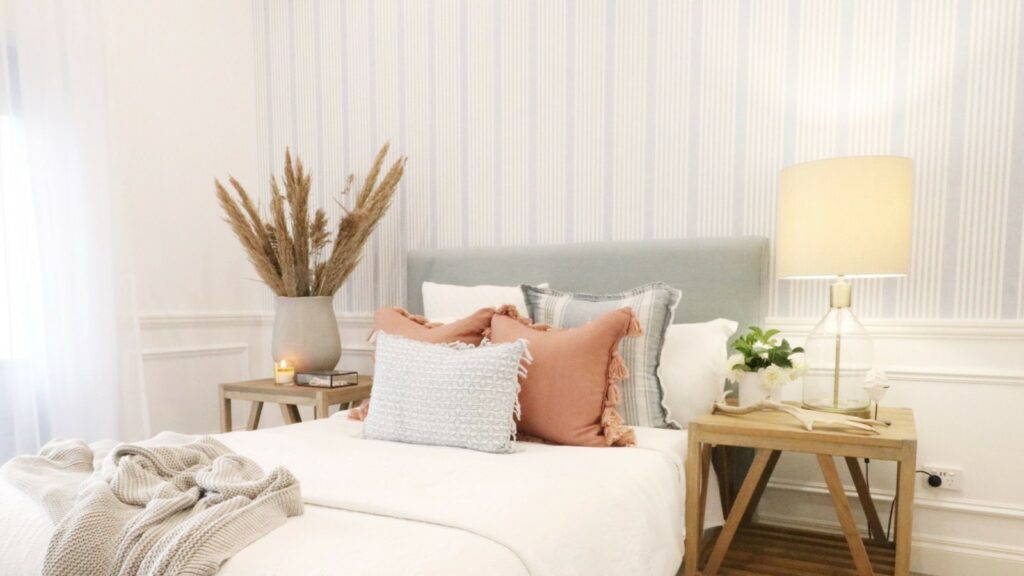
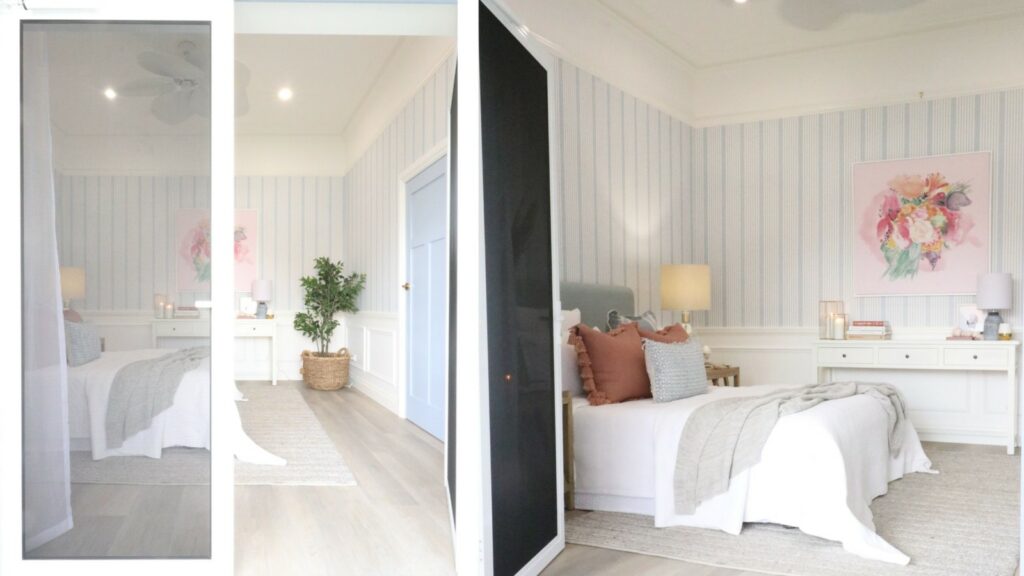
Now transformed into a stunning and elegant bedroom, with gorgeous wainscot paneling and picture railing wall. And Invisi Gard French doors in place giving the space amazing cross air ventilation, security, and privacy
This room transformation is truly a space to die for!
So, want to know how we pulled this off? Continue reading below, as we share step by step on how we transformed this space
Or simply click the videos below if you prefer to watch…

STEP BY STEP ON ROOM 2 TRANSFORMATION
DEMO
With this renovation, you guys are going to see quite a lot of changes in regard to the front facade. Using some amazing products from Hume Doors to Alspec we transformed the tiny window into this beautiful opening.
With that being said, it’s time that we took a crack open and start our demolition for our second space. We removed all our floorings and cracked open the front of the house.
However, with nothing solid on the walls and all mortar and render was terrible, we had to remove all the barriers and the joists. So, with no floor foundation and walls, our plan of attack is to rebuild this room.
From the termite protection up to barriers, joist, and flooring it is time to start rebuilding this room from the ground up!
Like with any renovation we do, there will always be little challenges on the way. But without a doubt, our biggest challenges for this renovation was battening the wall to place a new Gyprock wall in place.
For Josh’s Battening tips click the link here
REBUILDING THE FOUNDATION OF THE ROOM
With the floors leveled and installed it’s time for the walls. We had a little challenge on our hands, where we didn’t know whether to chip off all the render, batten it out, or frame in front of it.
We went with battening the wall out, meaning that we ran timbers up the wall, so we were able to stick the chip rock onto. The only downside was there were lots of fixing and the motor from the bricks are quite old and falling apart
FRENCH DOORS
Similar to the struggles we had in room one, we had no foundation underneath the front window or the previous door. This meant that we had to go about cleaning it up, forming it up, and laying in a new complete foundation for installing our French doors.
If your thinking about replicating the French door or an internal French aluminum screen doors with Invsi-Gard, that we’ve done in rooms one and two
There a few things to think about before going ahead …
- Think about how you want your space to work
- How do you want people to enter and flow
- Which ways do you want your doors to move
- How will that impact how you can use the space and furnish the space?
The next thing you need to think about is naturally the privacy that your after, the security your after, and how often you wanna be using these doors. And lastly it is important to think about how you are going to integrate the doors into your space
INSTALLING OUR WALL
Partnering up Hunter Lining Project came in to pin our Gyprock sheets in, spending their time taping in with a base coat
Quick Tip:
It is really important that you wait 24 hours before you do the joins with your second coat.
Then, it was time to pop back in for a final coat before its being sand off.
We are now up to the next stage of our renovation – time to install our wall trimmings. Using FSC certified real timber trims is such a treat!
So, if you didn’t catch room one, each of those panels is 100 mils of the skirt, down from the chair and 100 mils apart from each other. Then the sizes of the rectangles vary between 600 to 700 depending on how many panels will need to fit into the wall.
With the help of Hunter Lining Project again, it was time to install our heavy white set cornices in place
PAINT
We have now reached the time to paint room 2!
Starting off with spraying an undercoat layer of enamel undercoat spraying on all the cornices and on the ceiling with a QT-5 gun from Aristospray. But before any of that, we made sure that we cleaned up our space, patched up all the holes, and sanded down our walls.
Next, it was time to do our undercoat on all the surfaces and then do the gapping.
Quick Tip:
Always gap after you’ve primed, and then sand again. Click here for more tips on gapping with Dan
We chose to spray this room as well, with all the beautiful paneling it made it quicker and easier with an amazing finish. When it came to the enamels on all the trims, including the skirt, the chair rail, and the picture rail we returned to using the handy old paintbrush
For tips with Dan on painting with enamel click here
INSTALLING ELECTRICALS
We popped in three power points with USBs on them, with the potential of transforming this space into a communal office
With the ceiling, we went with a gorgeous wide blade fan from Beacon Lighting and spaced out dimmable LEDs nice and wide to cancel out the strobe effect
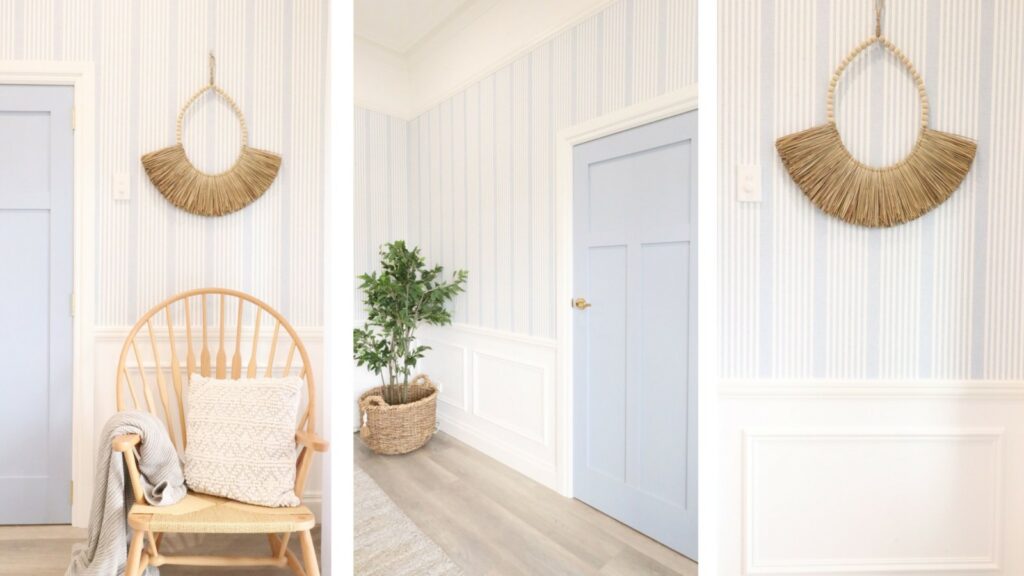
PRE-PASTED WALLPAPER
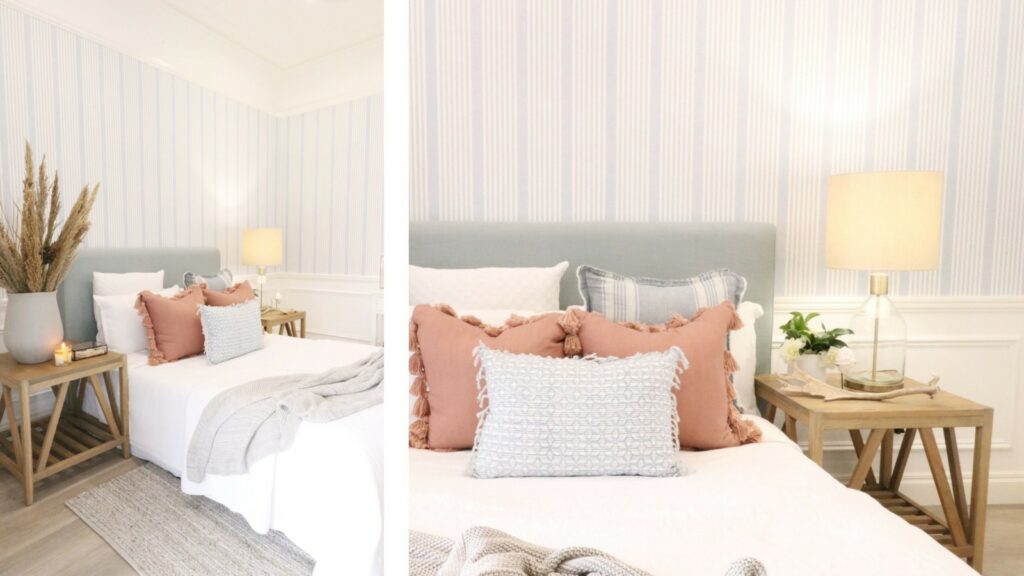
It’s time to put our wallpaper up! We went with a beautiful blue and white stripe pre-pasted wallpaper for space
To learn how to install your own pre-pasted wallpaper click this link here for a step by step guide
STYLING
After finishing off the finer details, its time to work on styling the room!
We decided to transform the space into another beautiful bedroom, with the potential of turning the space into a communal office for the team! Using soft blues, pinks and natural colours we transformed this into a costal and dreamy bedroom
And that wraps up our Room 2 Transformation for the Carrington House!
Wanting to know where we got out products that we used in our renovation today?
Finishes and Products
Skirt, Picture Rail, Chair Rail, Skirts & Archs
Painted in Cradle White Semi Gloss Taubman Paint
Door
Painted in Rendezvous Semi Gloss Taubmans Paint
Head over to Carrington House Room 2 to download the full list of finishes and products used in the renovation.
We like to say a special thanks to our supplier and tradie team, for helping out with the reno!
Find out who helped us made our renovations dream come true…
Supplier Team:
- Beaumont Tiles
- Bristol
- Aslpec
- Gerflor
- Gyprock
- Intrim
- Hume Doors
- Cemintel
- Draperly
- Brosa
- Kalora
- Saddingtons
Tradie Team:
Looking for an easier way to plan your renovation from start to finish?
Make your dream home a reality, no stress, no guesswork with our FREE Beautiful Renovations masterclass CLICK HERE TO JOIN

 Naomi Findlay is an experienced interior designer, project manager and stylist who also loves sharing her passions and experience by teaching others.
Leave a Reply