• Skip to main content
  • Skip to primary sidebar
  • Skip to footer

Naomi Findlay

Creating Beautiful Spaces

MENUMENU
  • LEARN MORE
        • Learn With Us
          • Reno & Styling Courses
          • Become a Property Stylist
          • Workshops
          • Professional Membership
        • Events
          • Christmas Decor Workshop
          • Virtual Retreat
          • Creative Workshops
          • Business & Balance Retreat
        • Resources (Free)
          • 5 Ways to create a beautiful & relaxing space at home
          • Beautiful Renovation Masterclass
          • Renovation App - Real Reno App
          • Space Medicine Guide
          • Floor Plan Transformation Guide
          • Renovate for ROI
          • Free Resources
        • Work With Me
          • Virtual Interior Design
          • Mentoring with Me
          • Partner or Collaborate
          • Be a Guest on Our Show
          • Have Naomi Speak at Your Event
          • Interview Requests
          • Press Enquiry
        • Shopping Tours
          • Bali Buying Trip
          • Bali Homewares Tour
        • Read
          • Blog
          • Book: Weathered to Wonderful
          • Book: Start Up Guide To Renovating For Wealth
          • Book: Sell Your Property For More Money
          • Newsletter
        • Watch & Listen
          • The Reno Show
          • Reno Radio
          • Renovie
        • Stay & Hire
          • The Cottage – Waukivory Estate
          • Hire Waukivory Estate
          • Hire Carrington House
          • Carrington House Co-Working Packages
        • Projects
          • Design Projects
          • Carrington House
          • Renovating Waukivory Estate
          • Lorn Rose Farm
          • Furniture Makeovers
        • Farm To Fortune Projects
          • About Farm to Fortune Projects
          • Lorn Rose Farm
          • Renovating Waukivory Estate
        • What People Say
          • Happy Students
          • Case Studies
          • Reviews
        • About
          • About Naomi…
          • Careers
          • Build a School
          • Help + Info
          • As Seen In
          • Media Resources
  • SHOP
        • EVENTS
          • Botanical Pressing Workshop
          • ONLINE Clay Beaded Garland Workshop
          • Workshops
          • Virtual Retreat
          • Bali Buying & Homewares Trip
          • Business & Balance Retreat
          • Bali Retreat
        • SHOP
          • Paint
          • Homewares
        • BOOKS
          • Weathered to Wonderful
          • Start Up Guide To Renovating For Wealth
          • Sell Your Property For More Money
        • STAGING & STYLING COURSES
          • Professional Membership
          • Art of Home Staging
        • Staging Business Swipe Files
          • Business SOP Templates
          • Business Email Templates
          • Business Call Scripts
        • RENOVATION COURSES
          • Renovate
          • Rapid Renovation Formula
          • Six Step Selling System
  •  

How to Grout Bathroom Refresh – DIY TIPS

February 12, 2021 by Naomi


Looking for an easier way to plan your renovation?  → Join Free Beautiful Renovations Masterclass


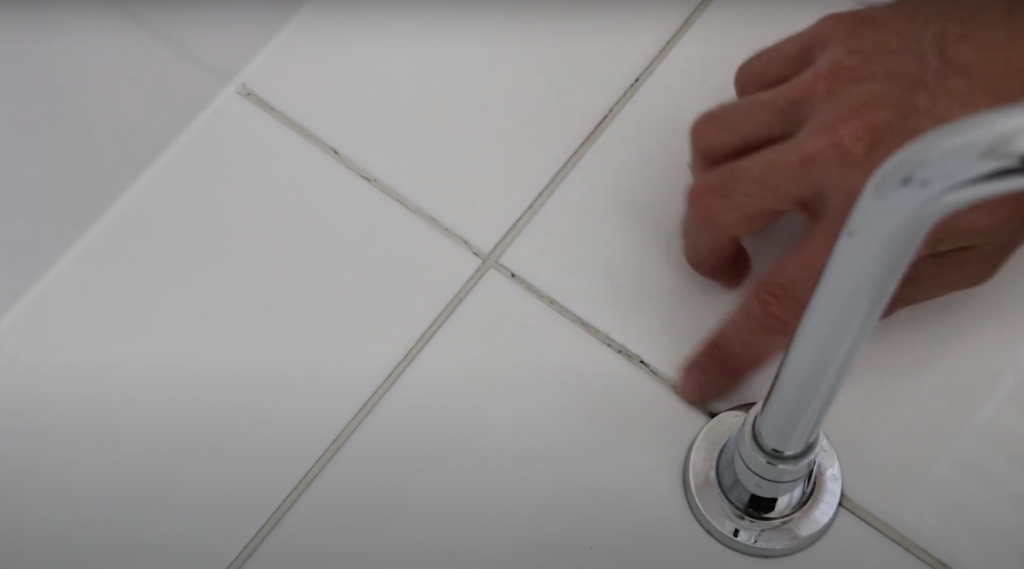
Have you ever noticed your bathroom grout changing colour? The dirty brown colour overtaking you’re used to be perfectly white grout? Well over time the moisture of surfaces tends to suck and absorb dust and products which tend to discolour the grout over time.

Say no more!

We will show you step by step on how to refresh your grout in a cheap and affordable way, transforming your bathroom to as new as ever!

Before – Regrouting

If you prefer to watch, simply click the link below or simply continue scrolling to keep reading…

STEP BY STEP ON HOW TO REFRESH YOUR BATHROOM GROUT
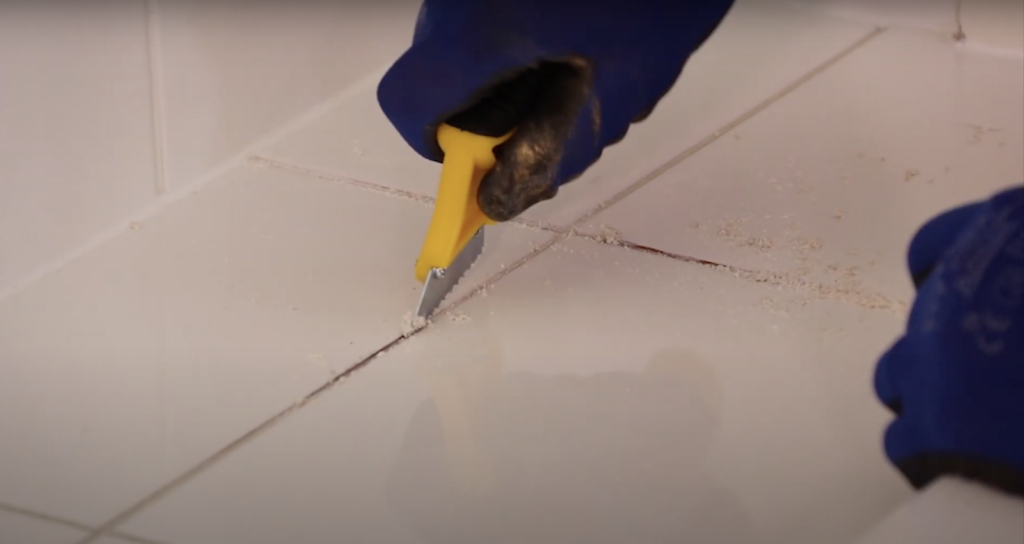
STEP ONE

Clean the grout. Use a sharp edge of a Stanley knife to scrape off the dirt and dust.

Scraping out old dirty and broken grout

STEP TWO

Mix up your grout to a running consistency, following according to the manufacture’s specifications.
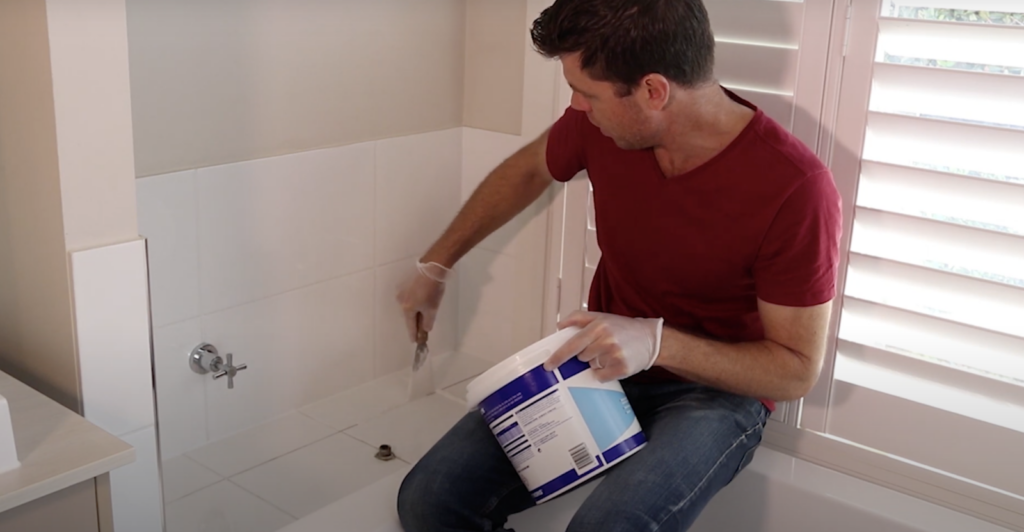
STEP THREE

Using a spatula, add grout and smooth along and fill in lines. This can often get messy, so it important to wear gloves.

Re-applying grout

STEP FOUR

Use a specific grout sponge, to push deep inside those grout lines in order to get rid of bubbles and air.
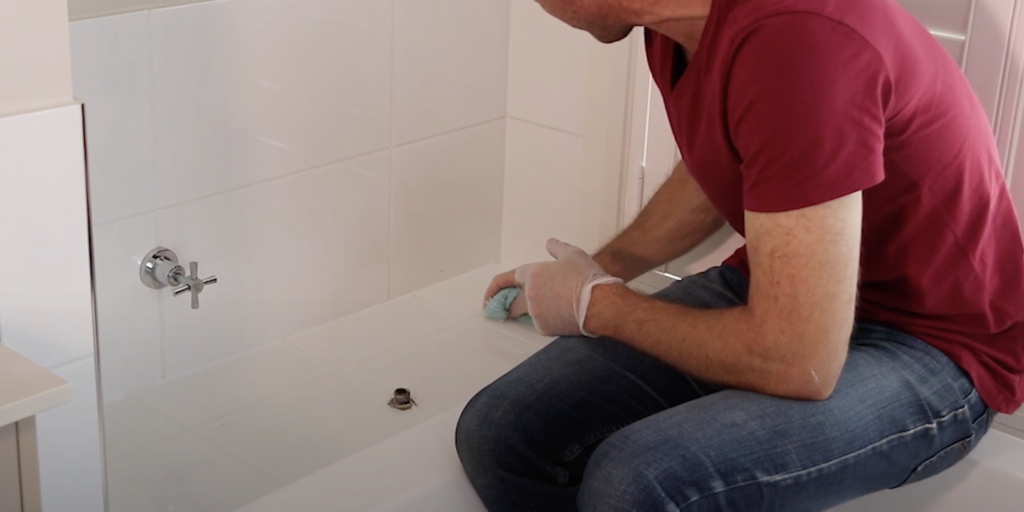
STEP FIVE

Grab a soft cloth to remove the excess from around the grout joints. Make sure that you avoid any moisture going inside the grout lines. Clean around the edges, removing rough chunky bits.

STEP SIX

Come back after the grout has started to harden so that we can do our final treatment. With a soft cloth, work it across the grout lines horizontally and diagonally just cleaning and smoothing out the excess grout off.

Cleaning off excess grout with a soft cloth

STEP SEVEN

Leave it for it to harden up again, then with a dry cloth clean off the remaining excess grout.


Reader Interactions

Leave a Reply Cancel reply

Your email address will not be published. Required fields are marked *

Primary Sidebar

Primary Sidebar

My Pins

Categories

Free Renovation Resources by Naomi FindlayWork with me one to one - interior designer naomi findlay

Footer

Quick Links

  • Renovation Courses
  • The Art of Home Staging
  • Professional Membership
  • Styling & Renovation Workshops
  • Renovation Books
  • Free Resources
  • RenoMate App
  • Get the Newsletter

Privacy Policy | Terms for Courses | Terms for Products & Events

About Naomi Findlay

Naomi Findlay is Australia’s renovation royalty and works with people around the country helping them create beautiful spaces with her online courses. Read more

  • Facebook
  • Instagram
  • LinkedIn
  • Pinterest
  • Twitter
  • YouTube

Copyright © 2015–2023 Naomi Findlay · Website care by ClickWP · My Account · Contact · Log in