• Skip to main content
  • Skip to primary sidebar
  • Skip to footer

Naomi Findlay

Creating Beautiful Spaces

MENUMENU
  • LEARN MORE
        • Learn With Us
          • Reno & Styling Courses
          • Become a Property Stylist
          • Workshops
          • Professional Membership
        • Events
          • Christmas Decor Workshop
          • Virtual Retreat
          • Styling Workshops
          • Creative Workshops
          • Business & Balance Retreat
        • Resources (Free)
          • Beautiful Renovation Masterclass
          • Renovation App - Real Reno App
          • Space Medicine Guide
          • Floor Plan Transformation Guide
          • Renovate for ROI
          • Free Resources
        • Work With Me
          • Virtual Interior Design
          • Mentoring with Me
          • Partner or Collaborate
          • Be a Guest on Our Show
          • Have Naomi Speak at Your Event
          • Interview Requests
          • Press Enquiry
        • Shopping Tours
          • Bali Buying Trip
          • Bali Homewares Tour
        • Read
          • Blog
          • Book: Weathered to Wonderful
          • Book: Start Up Guide To Renovating For Wealth
          • Book: Sell Your Property For More Money
          • Newsletter
        • Watch & Listen
          • The Reno Show
          • Reno Radio
          • Renovie
        • Stay & Hire
          • The Cottage – Waukivory Estate
          • Hire Carrington House
          • Hire Waukivory Estate
        • Projects
          • Design Projects
          • Carrington House
          • Renovating Waukivory Estate
          • Lorn Rose Farm
          • Furniture Makeovers
        • Farm To Fortune Projects
          • About Farm to Fortune Projects
          • Lorn Rose Farm
          • Renovating Waukivory Estate
        • What People Say
          • Happy Students
          • Case Studies
          • Reviews
        • About
          • About Naomi…
          • Careers
          • Build a School
          • Help + Info
          • As Seen In
          • Media Resources
  • SHOP
        • EVENTS
          • Workshops
          • Bali Buying & Homewares Trip
          • Business & Balance Retreat
          • Bali Retreat
          • Virtual Retreat
        • SHOP
          • Paint
          • Homewares
        • BOOKS
          • Weathered to Wonderful
          • Start Up Guide To Renovating For Wealth
          • Sell Your Property For More Money
        • STAGING & STYLING COURSES
          • Professional Membership
          • Art of Home Staging
        • Staging Business Swipe Files
          • Business SOP Templates
          • Business Email Templates
          • Business Call Scripts
        • RENOVATION COURSES
          • Renovate
          • Rapid Renovation Formula
          • Six Step Selling System
  •  

How To Build A DIY Stand-Up Desk

September 12, 2022 by Naomi


Interested in starting a career as a Property Stylist?
Not sure how to turn this passion into a six figure career?

Start Here: Free Video Training Series


custom made stand up desk
Design Studio – Stand Up Desk

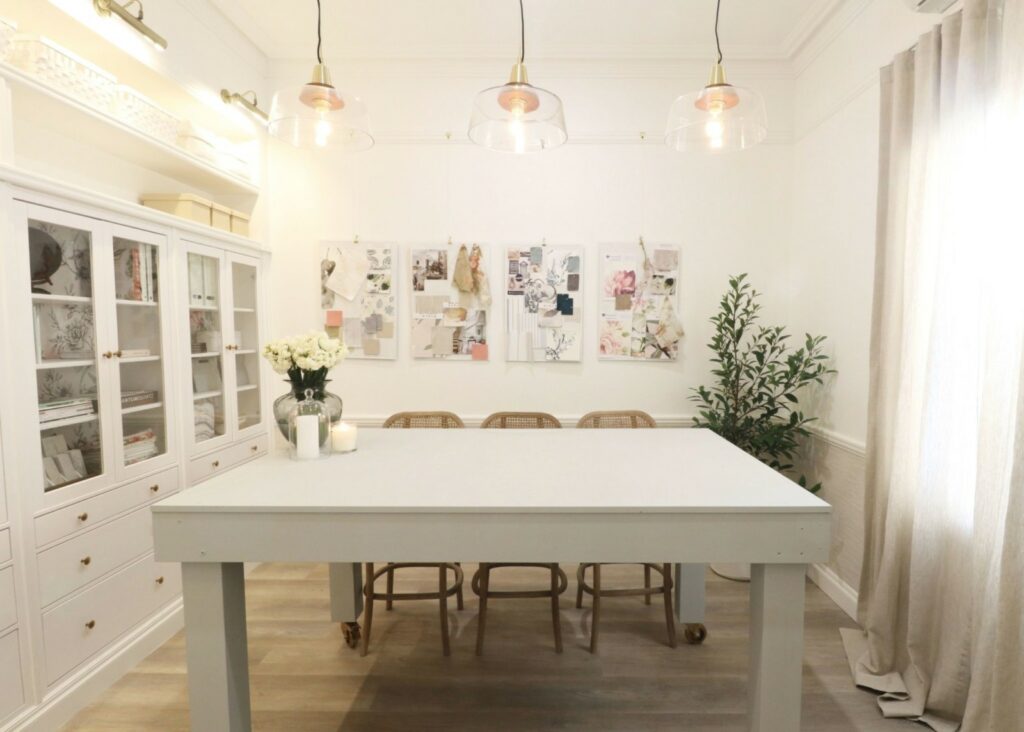
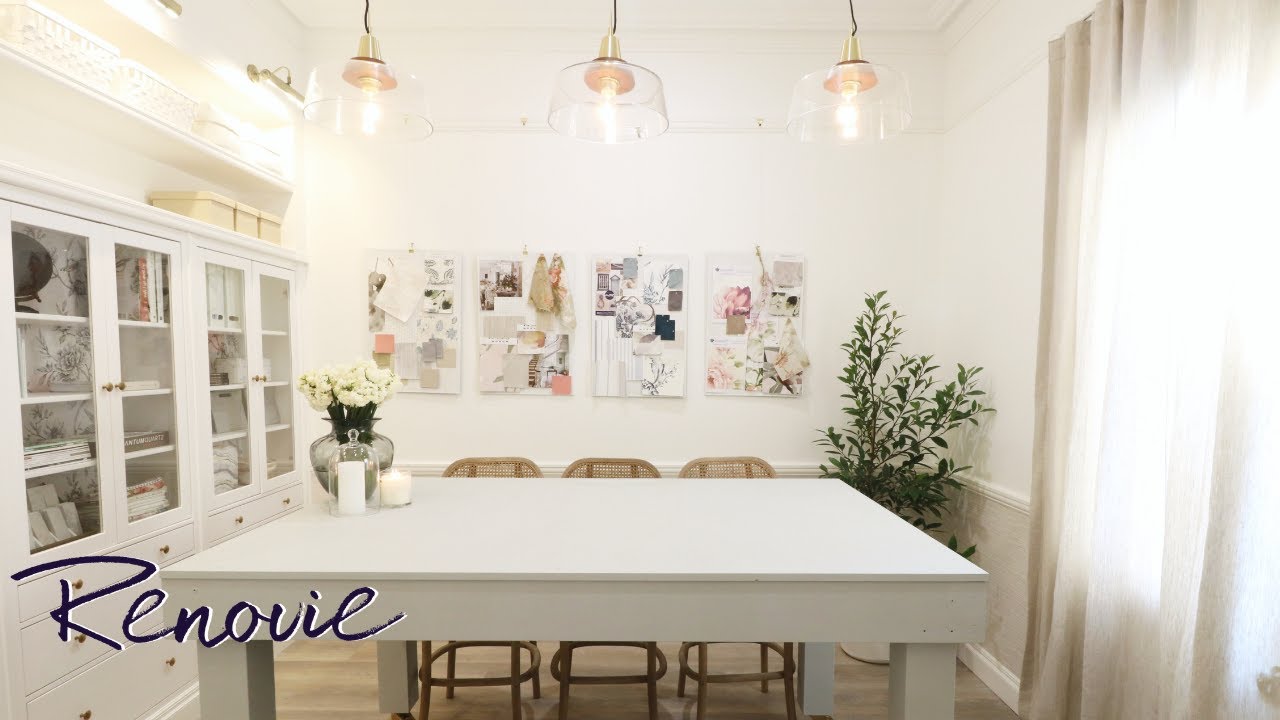
In need of a stand-up desk, but don’t have the budget to buy one? Or even yet struggling to find one that fits your space perfectly? Well this DIY is just for you! We will share step by step, what you need to build your very own DIY stand-up desk at your home today.

Read on for a step by step instruction or check out our detailed video below!


Thing you are going to need

  • The rails – Two Pieces at 1100x 140×40 mill and two pieces at 1800x140x40 mills
  • For the Legs – Four pieces at 100×100 mills by 850 tall
  • Top of the desk – 1200×1800 mills
  • Four wheels
  • Screws
  • Drill & Drill Bits
  • Spray Paint
  • Colour of your choice to finish it in (We choose Misty Cove from Jolie Home)

Step by Step Instruction
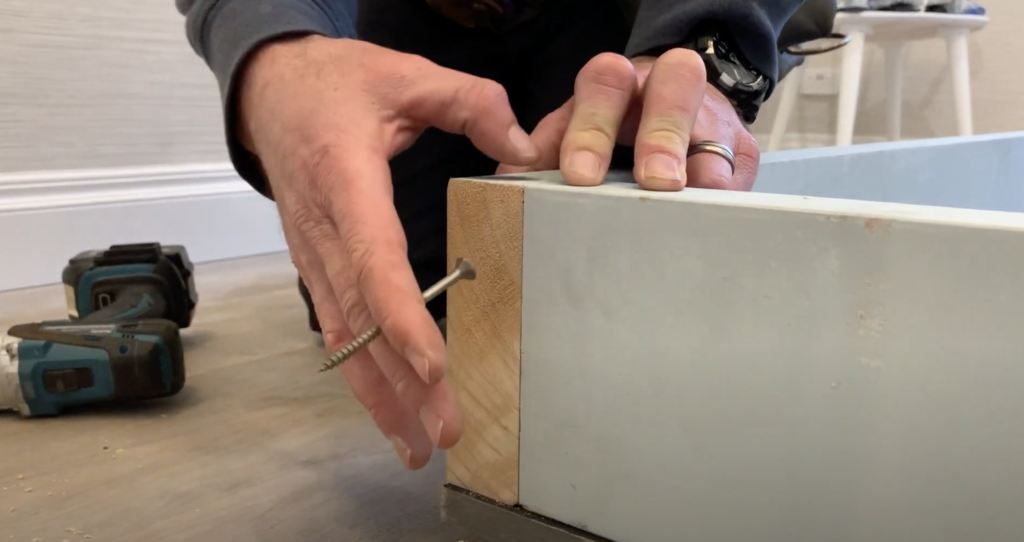
Step One

So using our desktop piece we are going to grab our pre-primed as a rail around the outside of our table.

Using our screws, we are going screw quarter from both ends of the timber pieces. We recommend to pre drill the hole and pre countersink it.

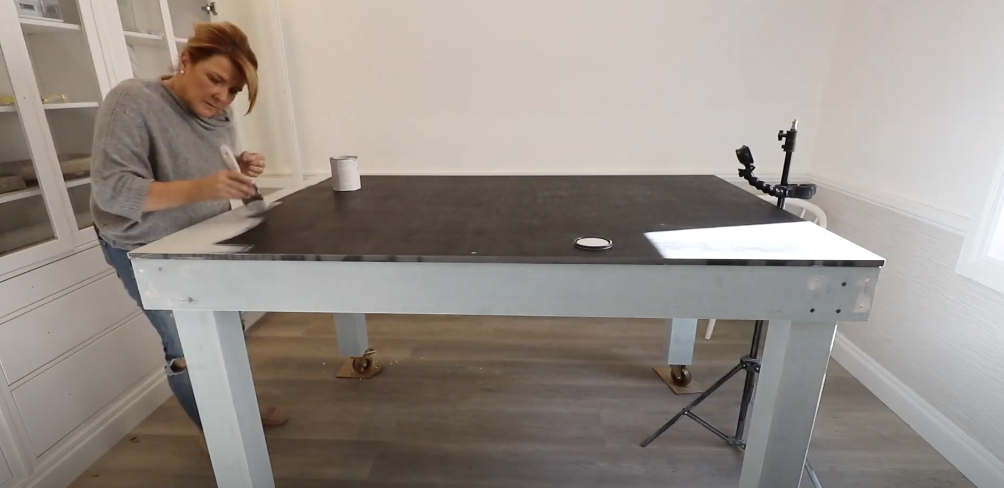
Now the next stage is to figure out what height you would like the table.

So considering your standing height, leaning height, drawing height, and chair height – we need to figure out how tall we want the table to be.
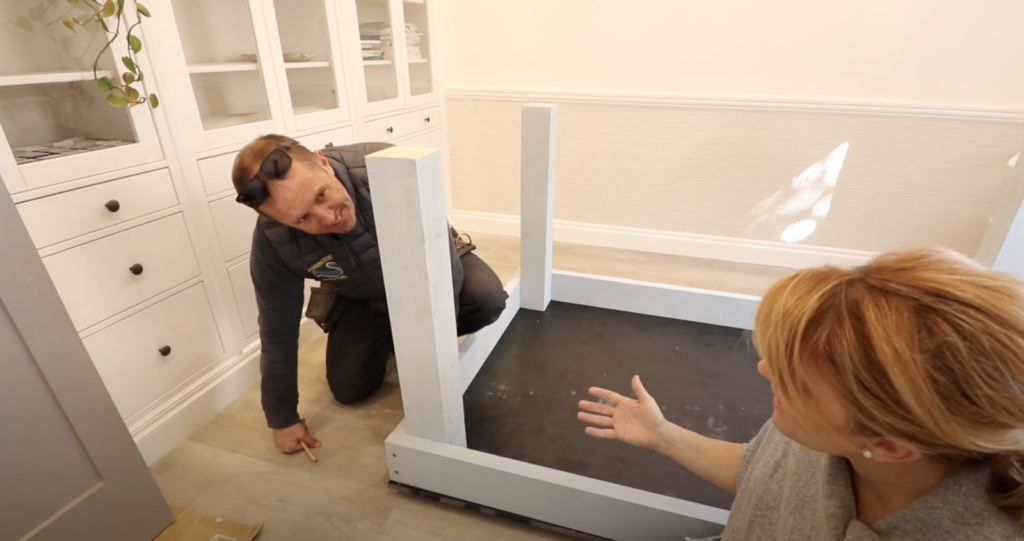
STEP TWO

After measuring the height, we cut our leg pieces, ready to be attached to our side rail pieces.
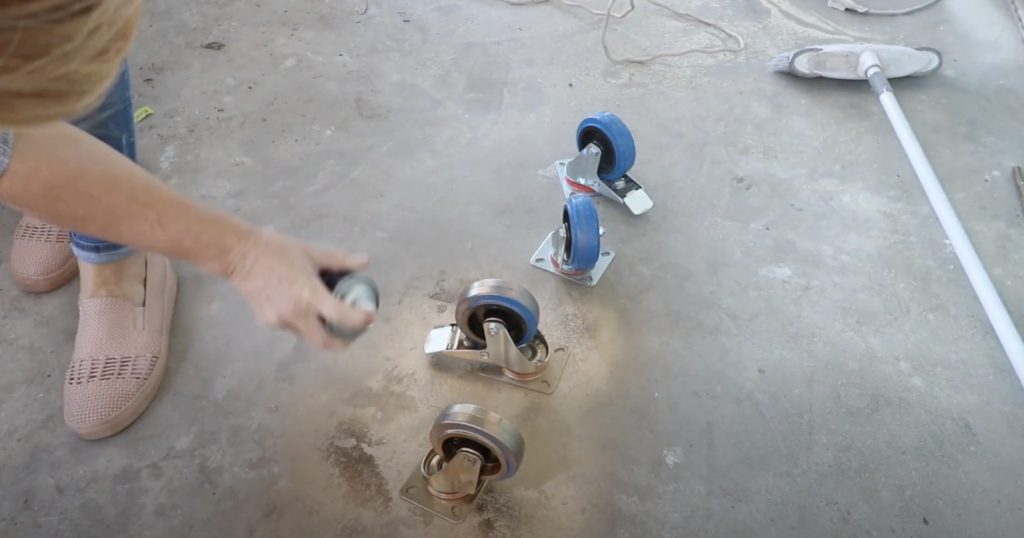
STEP THREE

Using some spray paint, we sprayed our table wheels in gold
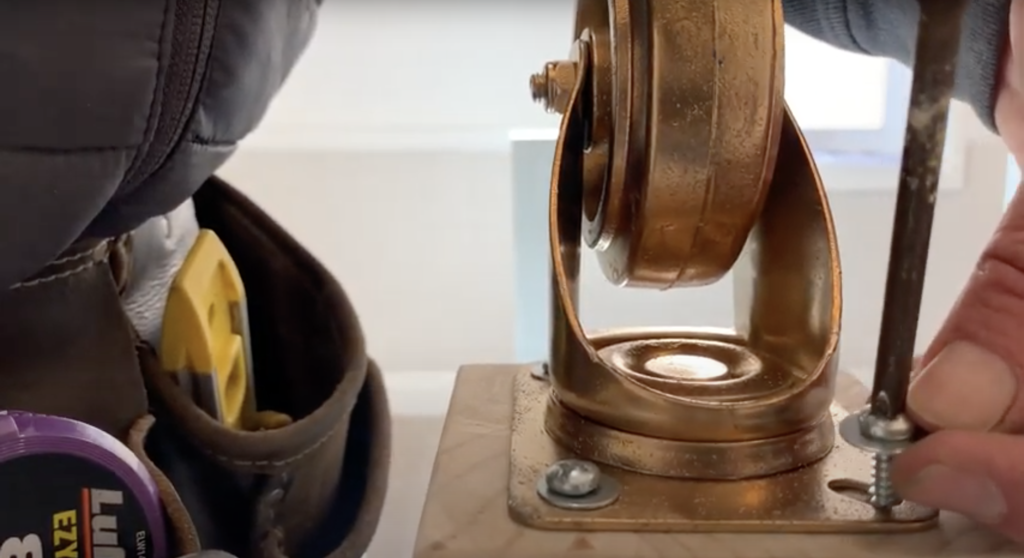
STEP FOUR

It time to attach our wheels to the bottom of our table legs.

So we will be using some smaller but wide screws that doesn’t need to go as deep into the wood.

Using a Dome-Head screw we attached each wheel to each table leg.

STEP FIVE

The final step, is to secure the desktop with some screws around the sides and corners.

And simply layer on some paint with the colour of your choice

Beautiful DIY Stand-Up Desk

Watch The Full Video Here

Reader Interactions

Leave a Reply Cancel reply

Your email address will not be published. Required fields are marked *

Primary Sidebar

Primary Sidebar

My Pins

Categories

Design Decision with Naomi Findlay, Virtual Interior Design
Naomi Findlay - Your Virtual Interior Designer

Footer

Quick Links

  • Renovation Courses
  • The Art of Home Staging
  • Professional Membership
  • Styling & Renovation Workshops
  • Renovation Books
  • Free Resources
  • RenoMate App
  • Get the Newsletter

Privacy Policy | Terms for Courses | Terms for Products & Events

About Naomi Findlay

Naomi Findlay is Australia’s renovation royalty and works with people around the country helping them create beautiful spaces with her online courses. Read more

  • Facebook
  • Instagram
  • LinkedIn
  • Pinterest
  • Twitter
  • YouTube

Copyright © 2015–2023 Naomi Findlay · Website care by ClickWP · My Account · Contact · Log in